Configuration
On first launch the application will display the settings page and ask for the application address. Basically it should be the IP address of your XiVO CC/UC applications. If you don’t know it, you need to ask your system administrator or refer to Protocol and connection URL paragraph.
Navigation
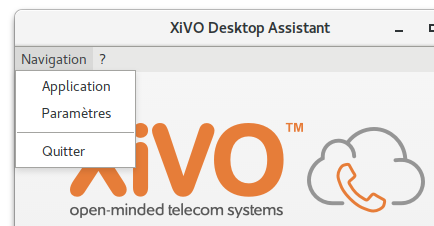
The top menu allows you to navigate either to the application or to the settings page. If you did not enter any setting, the application will redirect you to the settings page.
About
By clicking the ? menu you will open a popup that show you technical information about the application that can be used to report bugs.
Settings
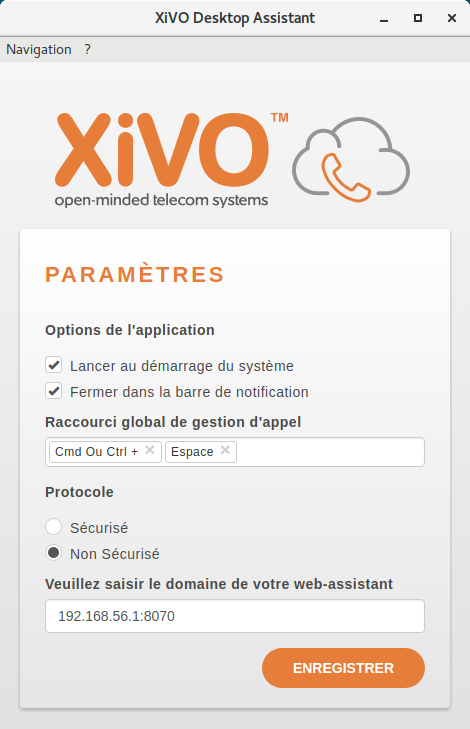
Application Options
- Launch at startup if enabled, the app starts automatically when you log in to your machine.
- Close in tray if enabled, the app stays running in the notification area after app window is closed.
Global keyboard shortcut and Select2Call
This field allow you to define one shortcut in application to handle all basic actions that can be done for managing calls. With one combination keypress you should be able to:
- Call the phone number contained in your clipboard (a.k.a Select2Call)
- Answer a call if phone is ringing
- Hangup if you are already on call
Note
- Linux: select phone number then trigger shortcut
- Windows: select phone number, type
Ctrl+Cthen trigger shortcut
Default Select2Call shortcut is Ctrl+Space for Windows and Linux, you can either change it or disable it by leaving the field blank.
Warning
You must be logged in for using global shortcut and automatic dialing to work.
Handling callto: and tel: URLs
The Desktop Application can handle telephone number links that appear in web pages. The Desktop Application will automatically dial the number when you click on a link.
It is supported on both Windows and Linux Debian based distributions (with a desktop environment compatible with Freedesktop).
Note that this feature may need some manual configuration steps. See Known limitations paragraph.
Protocol and connection URL
In these two fields you need to specify the protocol and address to reach the XiVO CC application. The values depend on the Protocol used and the Application you want to reach. The table below list the possible value:
| Connection URL | |||
| Protocol | Secure (recommended) | Non Secure (should not be used) | |
| Application | UC Assistant | XiVOCC_IP |
XiVOCC_IP:8070 |
| CC Agent | XiVOCC_IP/ccagent |
XiVOCC_IP:8070/ccagent |
|
Note that XiVOCC_IP or XiVOCC_IP:8070 can be replaced by a FQDN if your administrator has set one.
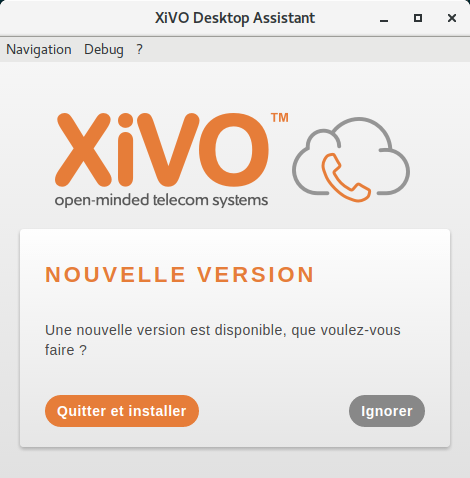
Update
On Windows, the application will check at startup for a new version of the application and offer to upgrade if one is available.
On Debian, the update relies on the package manager behavior. However you can check for any update by issuing the following commands:
sudo apt-get update
apt-cache policy xivo-desktop-assistant
Startup options
The Desktop Application can be started with following options:
--ignore-certificate-errorsto disable certificate verification, this option is meant only for test purposes. You can use it with self-signed certificates.-dto enable debug menu items
Note
On Windows both options must be set to the shortcut xivo-desktop-assistant.exe pointing to application located in C:\Users\<USER>\AppData\Local\xivo\xivo-desktop-assistant.exe so that Target of shortcut looks like for example to:
C:\Users\IEUser\AppData\Local\xivo\xivo-desktop-assistant.exe --ignore-certificate-errors -d
Known limitations
- callto: or tel: URLs : click on links using protocol callto: or tel: on Windows doesn’t work if any version of Skype / Lync is installed on the PC. However Manual association can be done as explained here : https://superuser.com/a/1118466
Troubleshoot Application
If you don’t succeed to reach login page of desired application (i.e. just give you the possibility to retry or to change parameters) and if you observe some errors about certificate in debug mode, you should
- Check that you installed correctly the certificate under /etc/docker/nginx/ssl (Signed SSL/TLS certificate for WebRTC).
- Take care if your move a *.cer to *.crt. You must concatenate a key file to your *.cer (
cat certifcate.cer certificate.key > certificate.crt). Just rename it will not work - Check that XUC_HOST in /etc/docker/compose/custom.env is also configured with the same FQDN as in the certificate, not the IP address.