Getting Started
This section will show you how to create a user with a SIP line. This simple use case covers what a lot of people need to start using a phone. You can use these steps for configuring a phone (e.g a softphone, an Analog-to-Digital switch or a SIP phone).
This tutorial doesn’t cover how to automatically provision a supported device. For this, consult the provisionning section.
We first need to log into the XiVO web interface. The web interface is where you can administer the whole system.
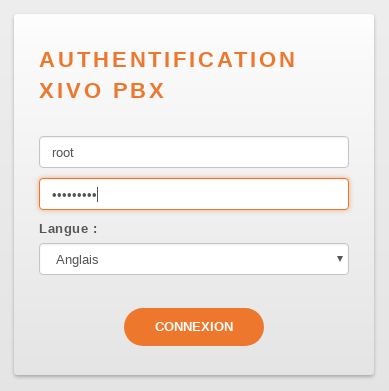
Logging into the XiVO
When logged in, you will see a page with all the status information about your system. This page helps you monitor the health of your system and gives you information about your network. Please note the IP address of your server, you will need this information later on when you will configure your device (e.g. phone)
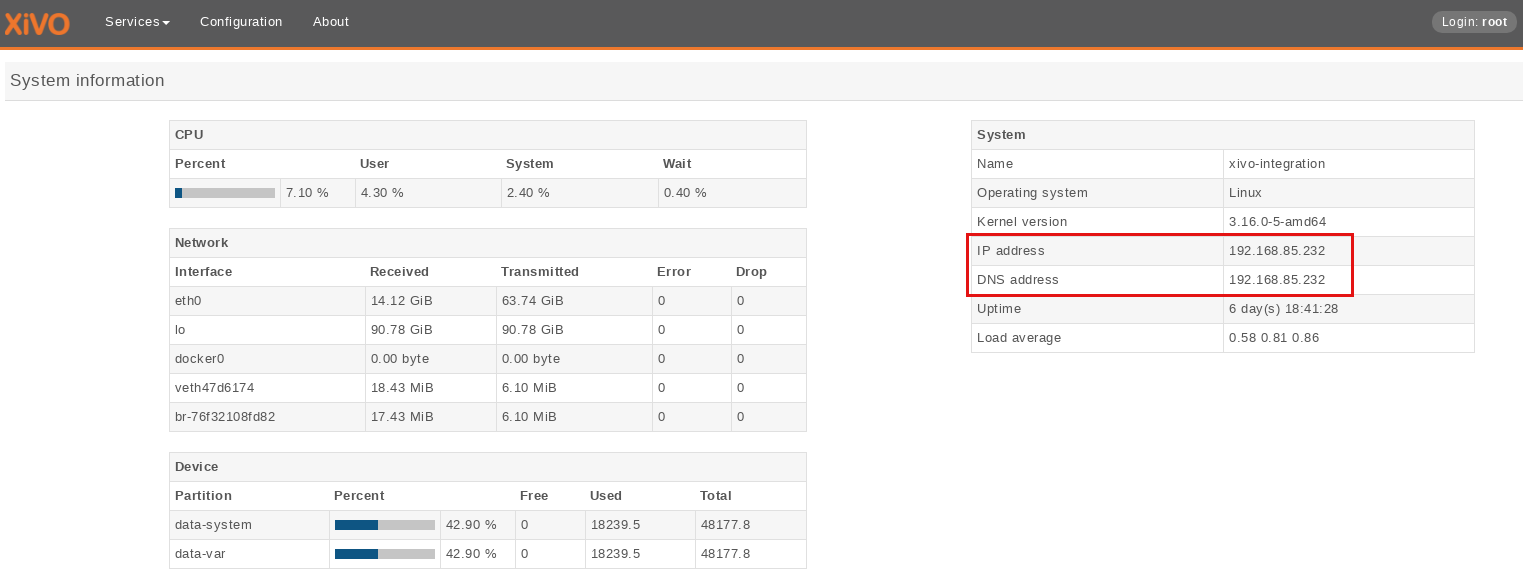
System informations
To configure a device for a user, start by navigating to the IPBX menu. Hover over the Services tab, a dropdown menu will appear. Click on IPBX.
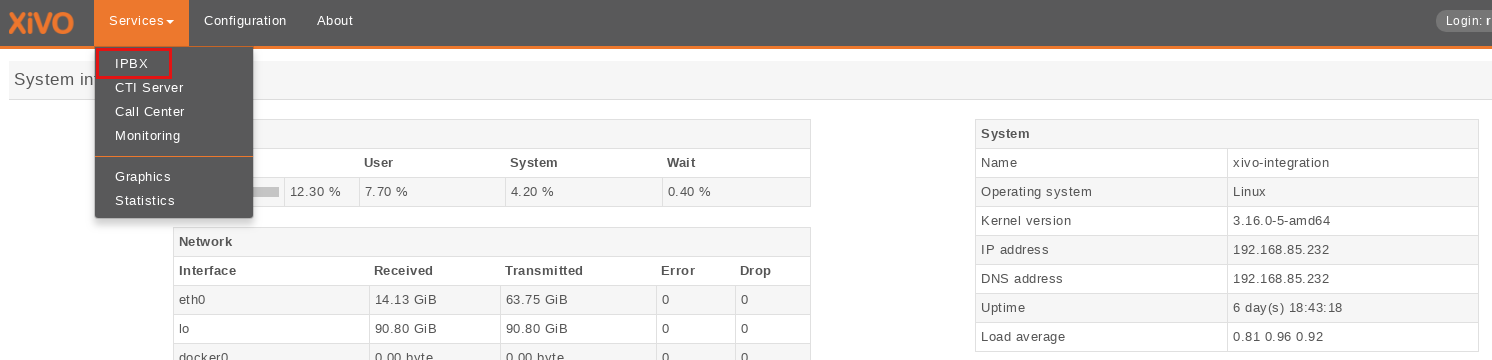
Menu IPBX
Select the Users setting in the left menu.
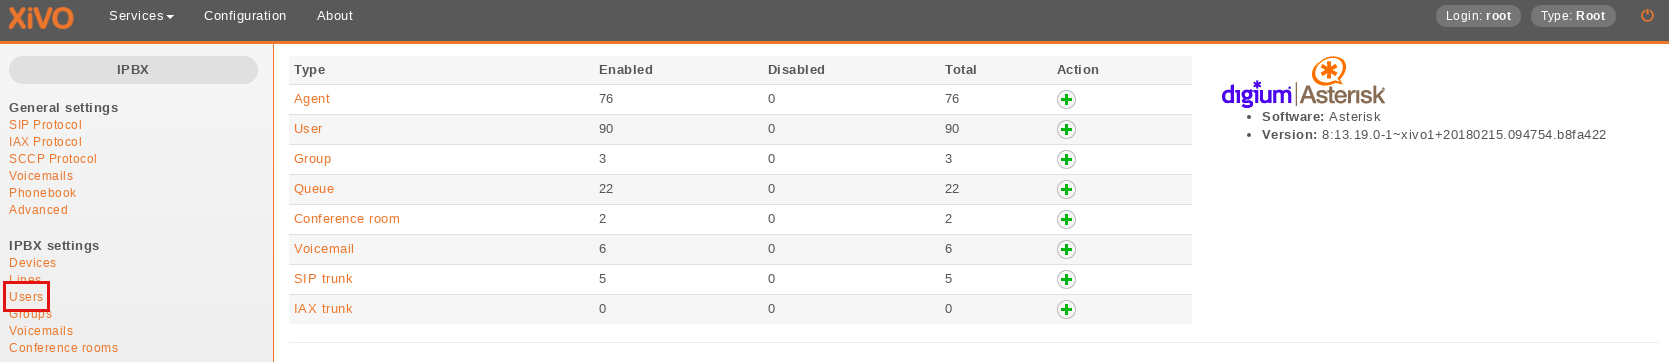
Users settings
From here, press on the “plus” sign. A pop up will appear where you can click on Add.

Adding a new line
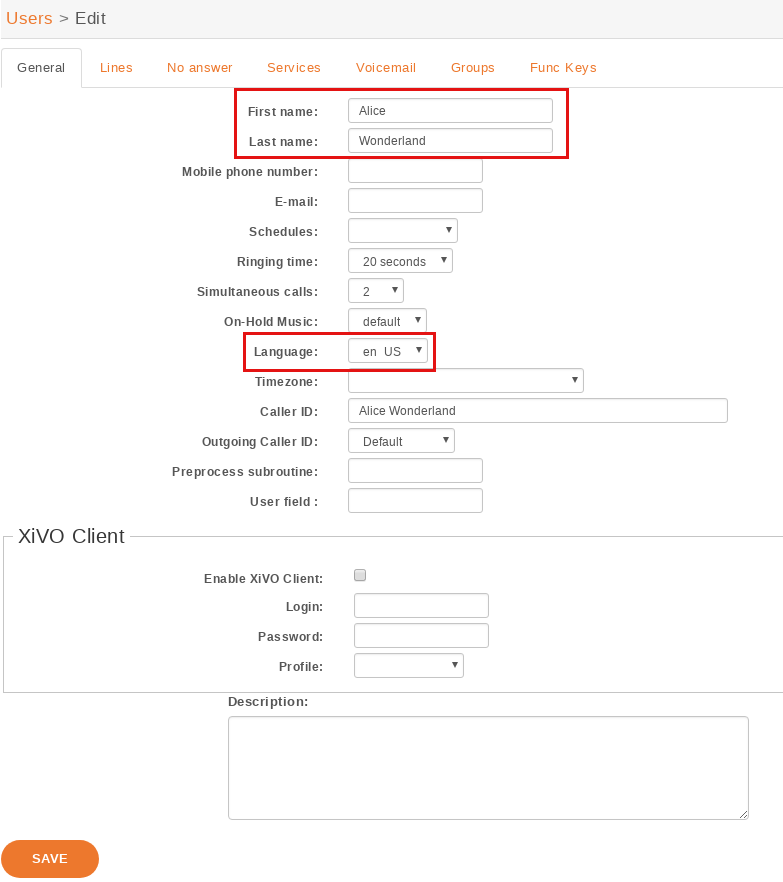
We now have the form that will allow us to create a new user. The three most important fields are ‘First name’, ‘Last name’ and ‘Language’. Fill in the fields and click on Save at the bottom. For our example, we will create a used called ‘Alice Wonderland’.
User information
Afterwards, click on the “Lines” tab.

Lines menu
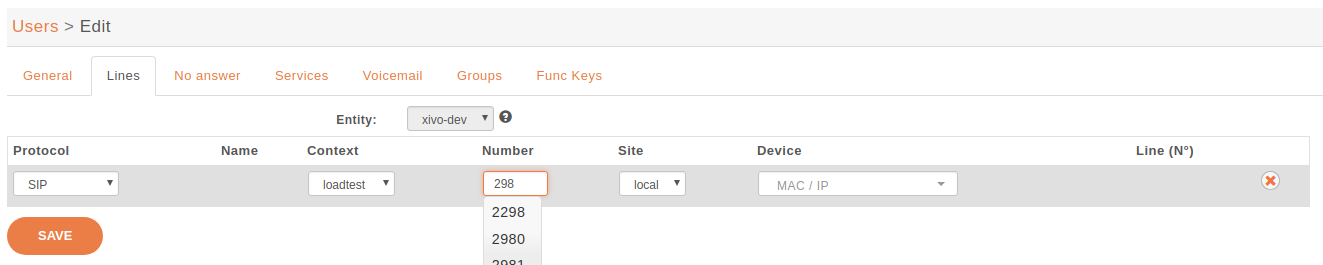
Enter a number for your phone. If you click inside the field, you will see the range of numbers you can use. For our example, we will use ‘1000’.
Line information
By default, the selected protocol is SIP, which is what we want for now. Click on Save to create the line.

Save
We now have a user named ‘Alice Wonderland’ with the phone number ‘1000’.

User added information
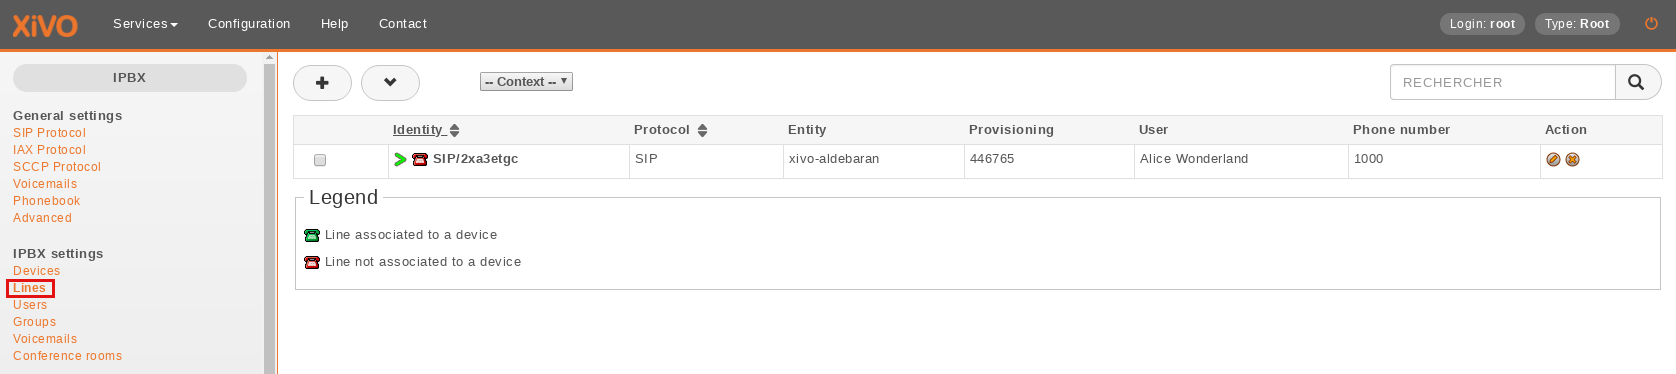
Now we need to go get the SIP username and password to configure our phone. Go back to the IPBX menu on the left, and click on ‘Lines’.
Lines information
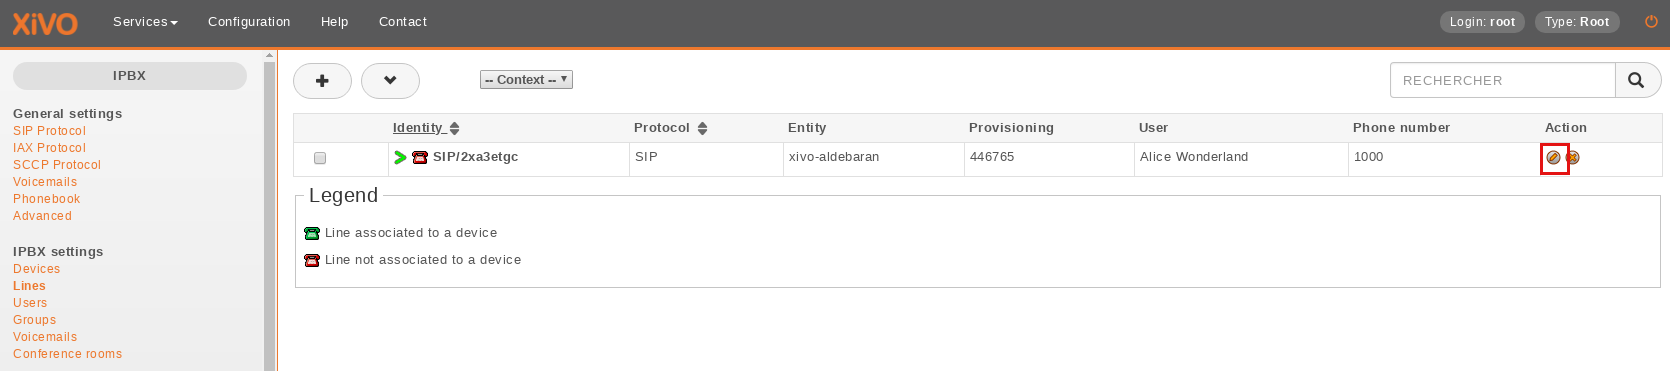
You will see a line associated with the user we just created. Click on the pencil icon to edit the line.
Edit line
We can now see the username and password for the SIP line. you can configure your phone using the IP for your server, the username and the password.

General line information