Resilience Administration
This page describes the administration part of the Resilience.
Warning
On Failover, some manual steps are required. When moving to Slave/Master, remember to wait:
for the services to be ready on the target xivo: xivo-service status all
for the restarted xuc to be ready: xivocc-dcomp logs -f xuc
Finally the users must refresh their browser windows before reconnecting to the UC Apps (UC/CCAgent/Switchboard/…).
XiVO Deployment
Failover to Slave
When the slave takes over the telephony service, there is nothing to do manually. The supported phones should register to the slave and send their calls towards the slave automatically.
Failback to Master
When the master is back again, the slave shutdown the telephony services and therefore, the supported phones should automatically register and send their calls towards the master.
CC Deployment
Failover to Slave
When the slave takes over the telephony service, an administrator must:
Connect to the CC Slave and restart the xuc
xivocc-dcomp restart xuc
Then the users can reconnect manually to the CC Slave by entering the new CC Slave FQDN in their browser
Failback to Master
When the master is back again, an administrator must:
Connect to the CC Master and restart the xuc
xivocc-dcomp restart xuc
Then the users can reconnect manually to the CC Master by entering the new CC Master FQDN in their browser
XDS Deployment
Failover to Slave
When the slave takes over the telephony service, nothing specific to do.new CC Slave FQDN in their browser
Failback to Master
When the master is back again, nothing specific to do.
Edge Deployment
A single Edge stack is relaying its services to either the Master or the Slave XiVO machines. Some steps must be done on failover to let it switch targets.
Failover to Slave
In the /etc/docker/edge/.env, the following variables must be switched from master to slave:
XIVO_HOST (XiVO IP)
XIVOCC_HOST (XiVOCC IP)
TURN_ALLOWED_PEERS (contains XiVO IP)
XIVO_MDS_HOST_DEFAULT (contains XiVO IP)
This can be done with the following script:
cd /etc/docker/edge

#register IP variables
echo "enter XiVO Master IP:" && read XIVO_MASTER_IP
echo "enter XiVO Slave IP:" && read XIVO_SLAVE_IP
echo "enter CC Master IP:" && read XIVOCC_MASTER_IP
echo "enter CC Slave IP:" && read XIVOCC_SLAVE_IP
if [[ -z "$XIVO_MASTER_IP" || -z "$XIVOCC_MASTER_IP" || -z "$XIVO_SLAVE_IP" || -z "$XIVOCC_SLAVE_IP" ]]; then
  echo "All IPs must be provided"
  exit 1
fi

sed -i "s/$XIVO_MASTER_IP/$XIVO_SLAVE_IP/g" .env
sed -i "s/$XIVOCC_MASTER_IP/$XIVOCC_SLAVE_IP/g" .env
Then apply the changes with:
edge-dcomp up -d
Then the users will be able to reconnect to the same edge FQDN.
Failover to Master
The reverse operation must be done.
cd /etc/docker/edge

#register IP variables
echo "enter XiVO Master IP:" && read XIVO_MASTER_IP
echo "enter XiVO Slave IP:" && read XIVO_SLAVE_IP
echo "enter CC Master IP:" && read XIVOCC_MASTER_IP
echo "enter CC Slave IP:" && read XIVOCC_SLAVE_IP
if [[ -z "$XIVO_MASTER_IP" || -z "$XIVOCC_MASTER_IP" || -z "$XIVO_SLAVE_IP" || -z "$XIVOCC_SLAVE_IP" ]]; then
  echo "All IPs must be provided"
  exit 1
fi

sed -i "s/$XIVO_SLAVE_IP/$XIVO_MASTER_IP/g" .env
sed -i "s/$XIVOCC_SLAVE_IP/$XIVOCC_MASTER_IP/g" .env
Then apply the changes with:
edge-dcomp up -d
Then the users will be able to reconnect to the same edge FQDN.
General Information on High Availability
High Availability Modes
Disable node
Default status of High Availability is disabled:
Warning
You should not disable an HA node in production as it will break the configuration and restart some services.
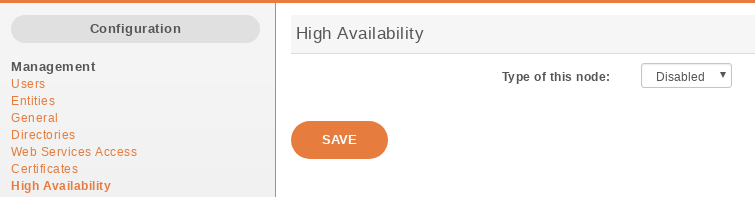
HA Dashboard Disabled (default state)
Important
You have to restart services (xivo-service restart) once the master node is disabled.
Master node
In choosing the method Master you must enter the IP address of the VoIP interface of the slave node.
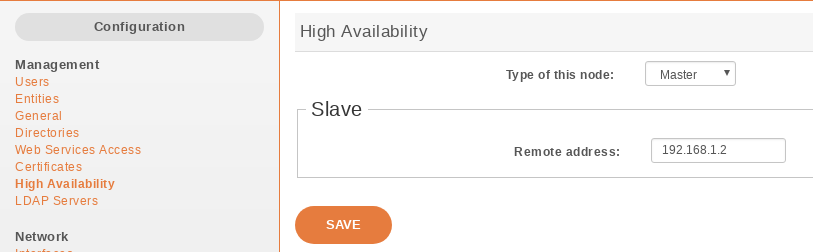
HA Dashboard Master
Important
You have to restart all services (xivo-service restart) once the master node is configured.
Slave node
In choosing the method Slave you must enter the IP address of the VoIP interface of the master node.
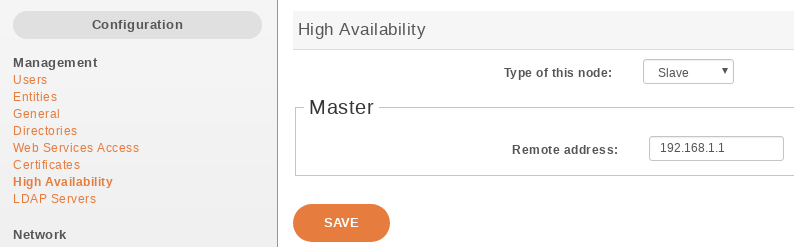
HA Dashboard Slave
Scripts
4 scripts are used to manage services and data replication.
xivo-master-slave-db-replication <slave_ip>is used on the master to replicate the master’s data on the slave server. It runs on the master.xivo-manage-slave-services {start,stop}is used on the slave to start, stop monit and asterisk. The services won’t be restarted after an upgrade or restart.xivo-check-master-status <master_ip>is used to check the status of the master and enable or disable services accordingly.xivo-syncis used to sync directories from master to slave.
Replication can be started manually by running the replication scripts on the master:
xivo-master-slave-db-replication <slave_ip>
xivo-sync
Running xivo-sync -i will create a passwordless SSH key on the master, stored under the /root/.ssh directory,
and will add it to the /root/.ssh/authorized_keys file on the slave.
Note
If you want to try the ssh logging as advised by the ssh-copy-id script, you must select
the new key to be used by ssh: ssh -i /root/.ssh/xivo_id_rsa root@<slave_ip>
Automatic Configuration Change
Warning
When the HA is configured, some changes will be automatically made to the configuration of XiVO. Do not change these values when the HA is configured, as this may cause problems. These values will be reset to blank when the HA is disabled.
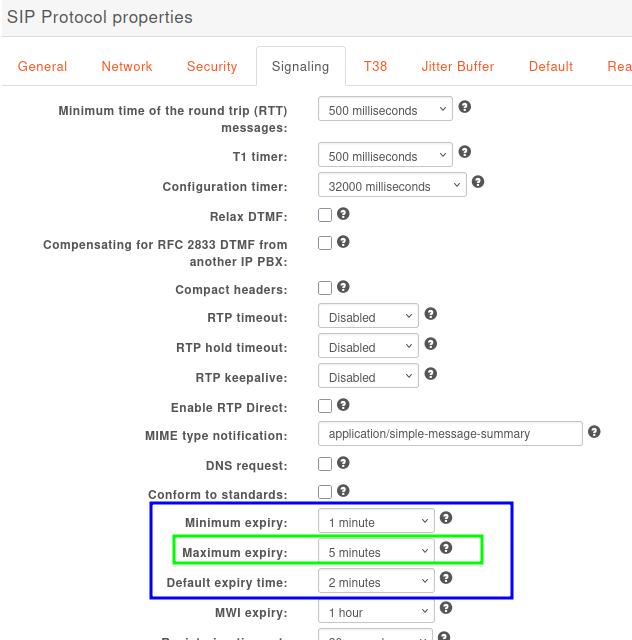
SIP Expiry
SIP expiry value on master and slave will be automatically updated:
min: 1 minutes (default: 1 minute)
max: 5 minutes (default: 1 hour)
default: 2 minutes (default: 2 minutes)
Provisioning: Template Line
The provisioning server configuration will be automatically updated in order to allow phones to switch from XiVO power failure.
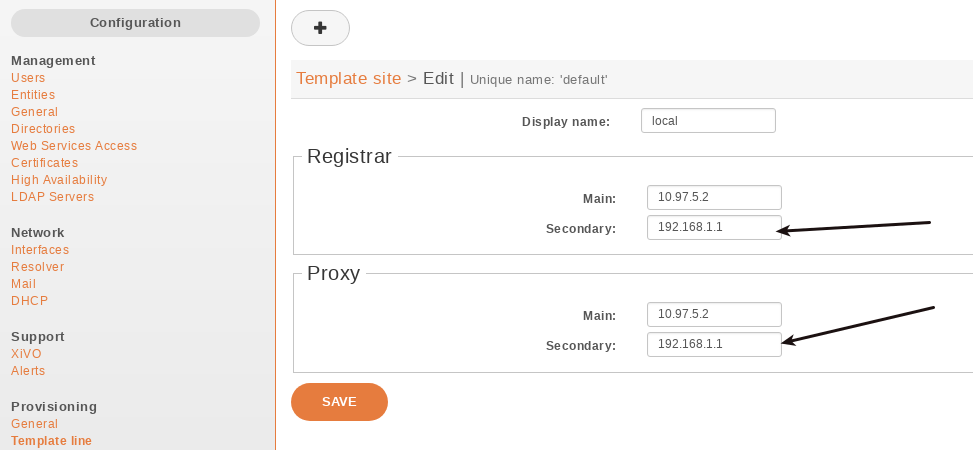
Important
For the telephony devices to take the new proxy/registrar settings into account, you must resynchronize the devices or restart them manually.